pH Sensor
About the product
A pH Sensor measures the acidity or alkalinity of the nutrient solution used to grow plants. It helps maintain the proper pH levels required for optimal plant growth and health. pH Sensors for hydroponics are essential tools for hydroponic gardeners, as they allow for accurate and precise monitoring of pH levels, which can directly affect plant growth and yield. With a pH Sensor, hydroponic gardeners can ensure their plants are receiving the right nutrients at the right time, leading to healthier and more productive plants.
Specification
● pH range: 0-14 pH,
● Temperature range: 15-30°C (59-86°F),
● Industrial grade electrode cable length: 3m (10ft) and 5m (16.4ft).
Installation
Connect sensors first, then power the module.
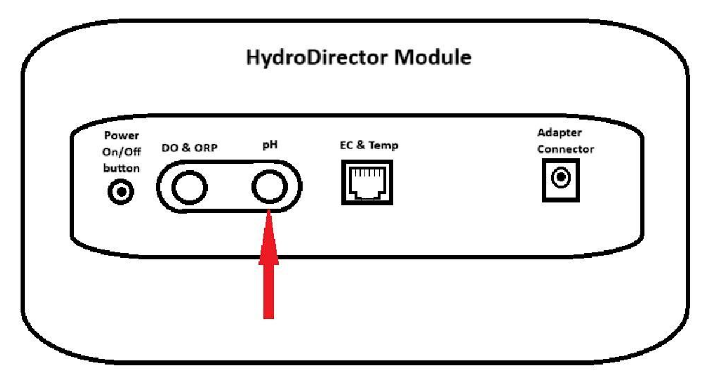
Insert the sensor adapter into the round BNC slot under the label “pH”.
Calibration
pH calibration is done in two steps. First, you calibrate pH 4, and then calibrate pH 7.
Prepare the following before Sensor calibration:
● Paper towel,
● Distilled water,
● Buffer with pH 4 liquid,
● Buffer with pH 7 liquid,
● pH Sensor.
Note:
Do not touch the Sensor head because it is very sensitive.
On the HydroDirector module are 2 round connectors for connecting sensors, one is labeled for the pH sensor, the other is labeled for the DO/ORP. It is VERY IMPORTANT not to confuse these connectors, the pH sensor should be connected only to the right round connector, which is labeled accordingly.
Valid Calibration Period Days: 21.
Calibration Time in Seconds: 120.
To start pH calibration, please, follow these steps:
- Tap the calibrate button. The Sensor calibration screen appears, which shows
Sensor name and Sensor image:
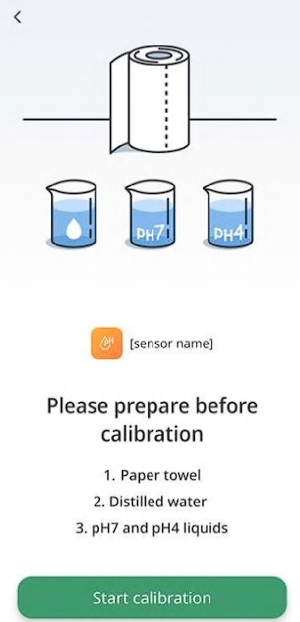
- Tap the Start calibration button. The following screen appears:
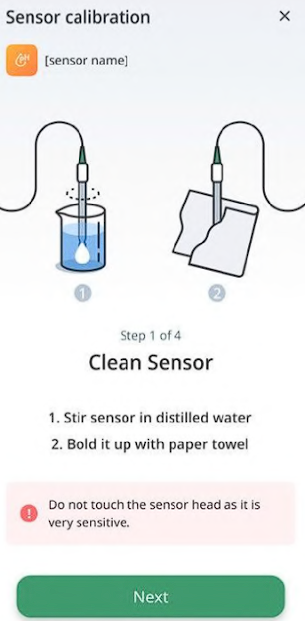
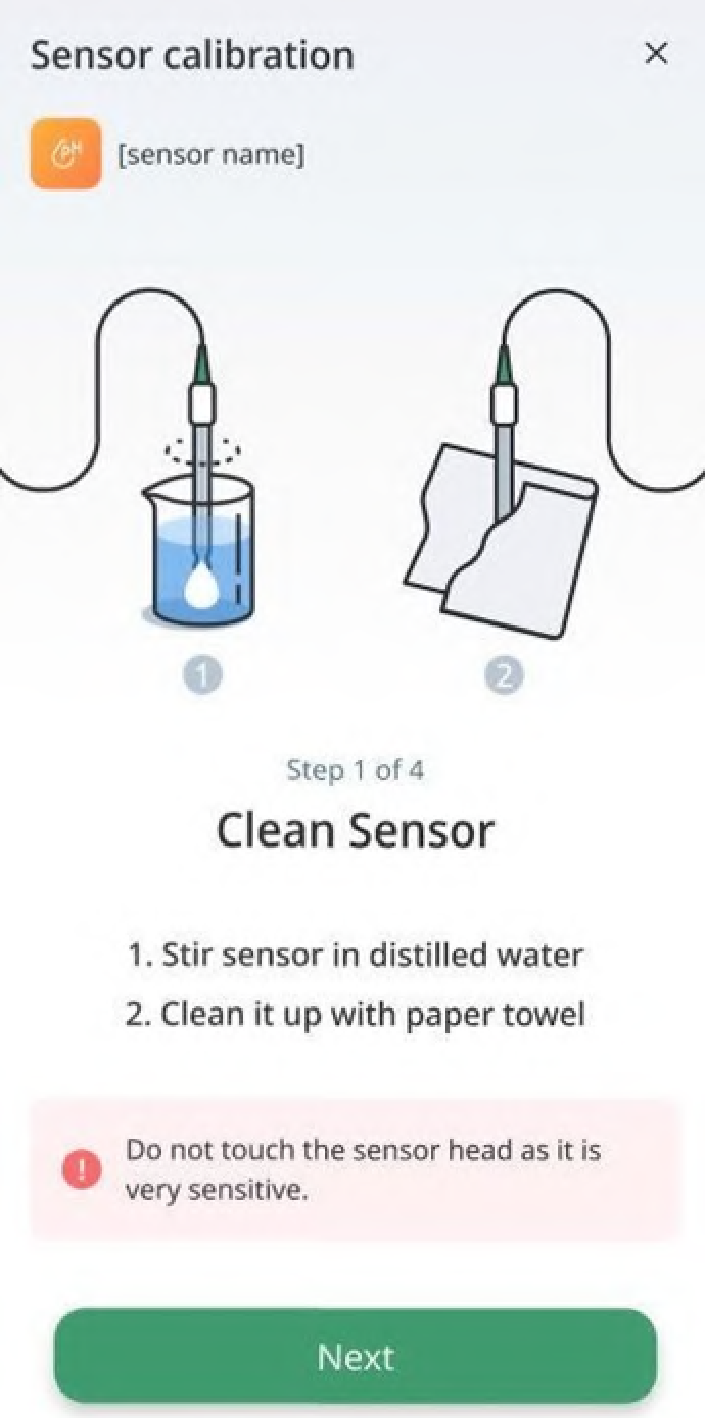
- Immerse your Sensor in distilled water and stir it several times. Pull it out and shake it to drain water drops. Use an absorbent paper towel to clean it up. Then, tap the Next button. The following screen appears:
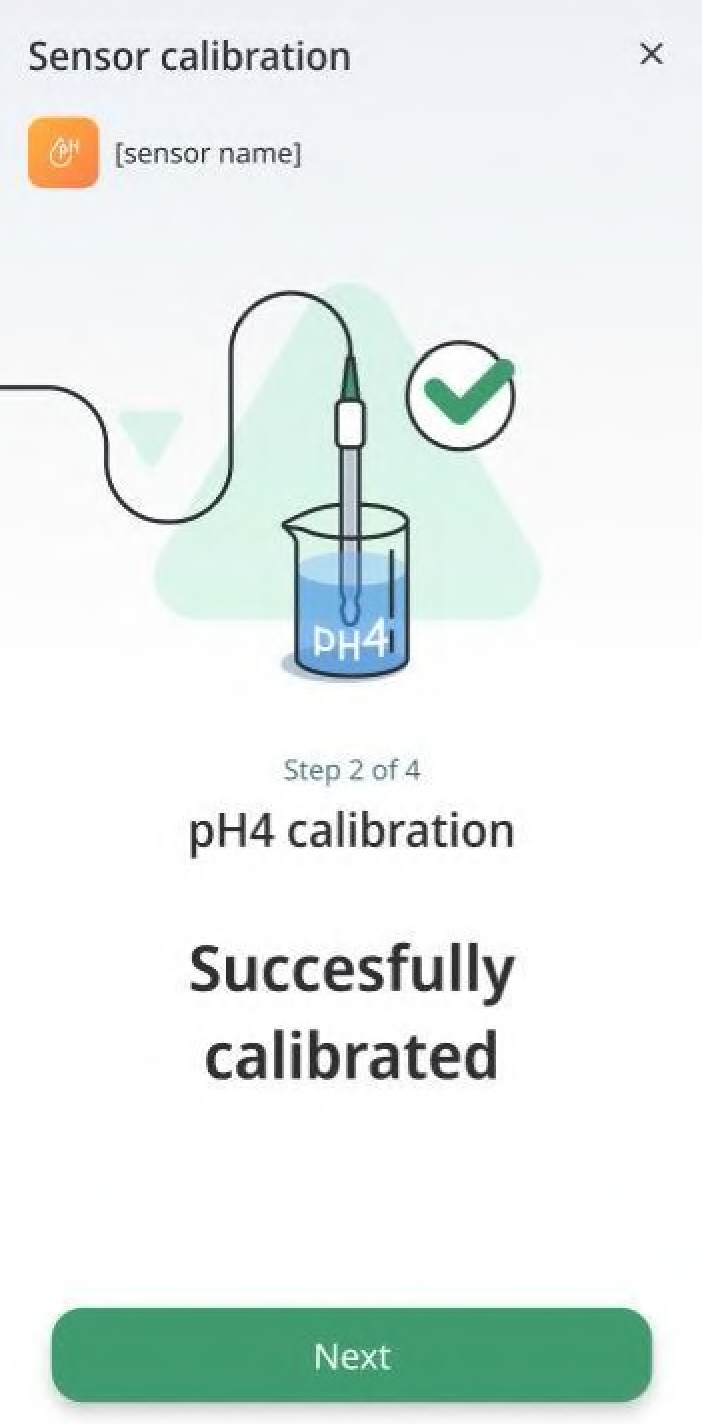
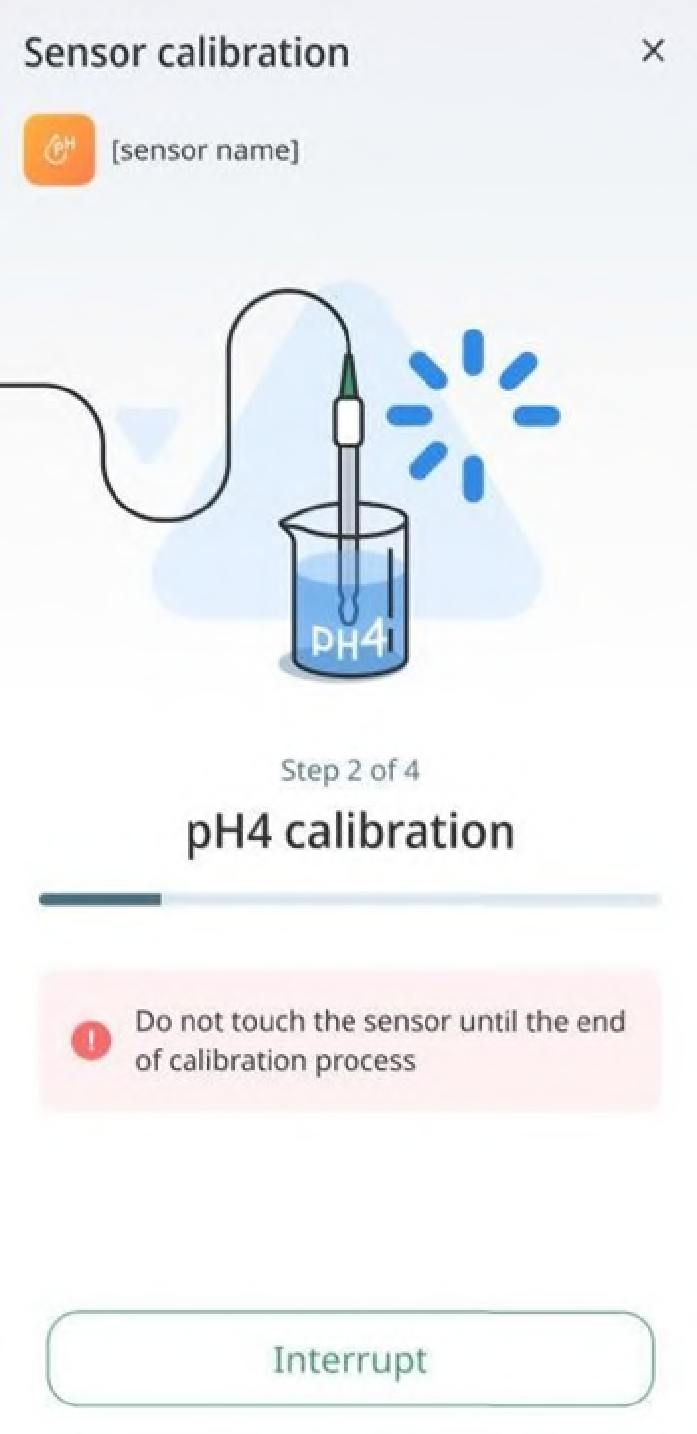
- Dip the Sensor into a pH 4 buffer and tap the Calibrate pH 4 button:
● There might be cases when you may want to interrupt the calibration process. Todo so, tap the Interrupt button:
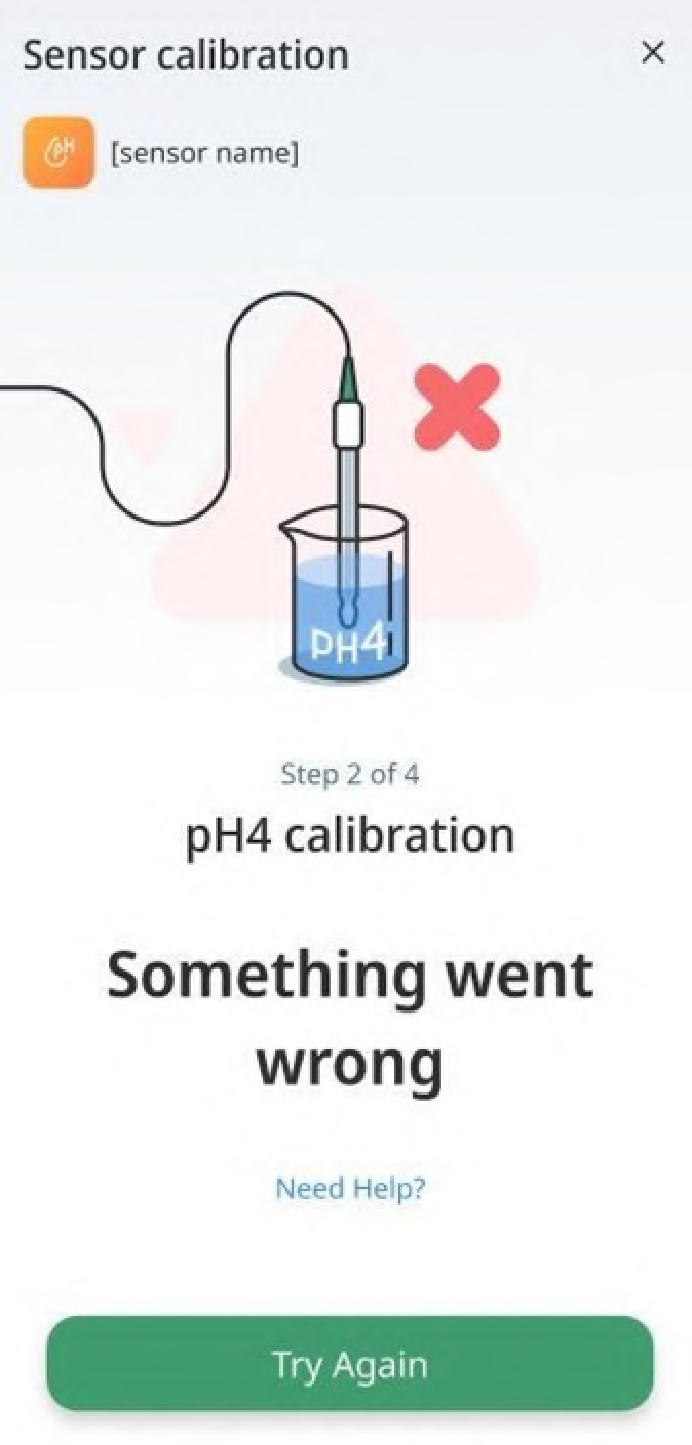
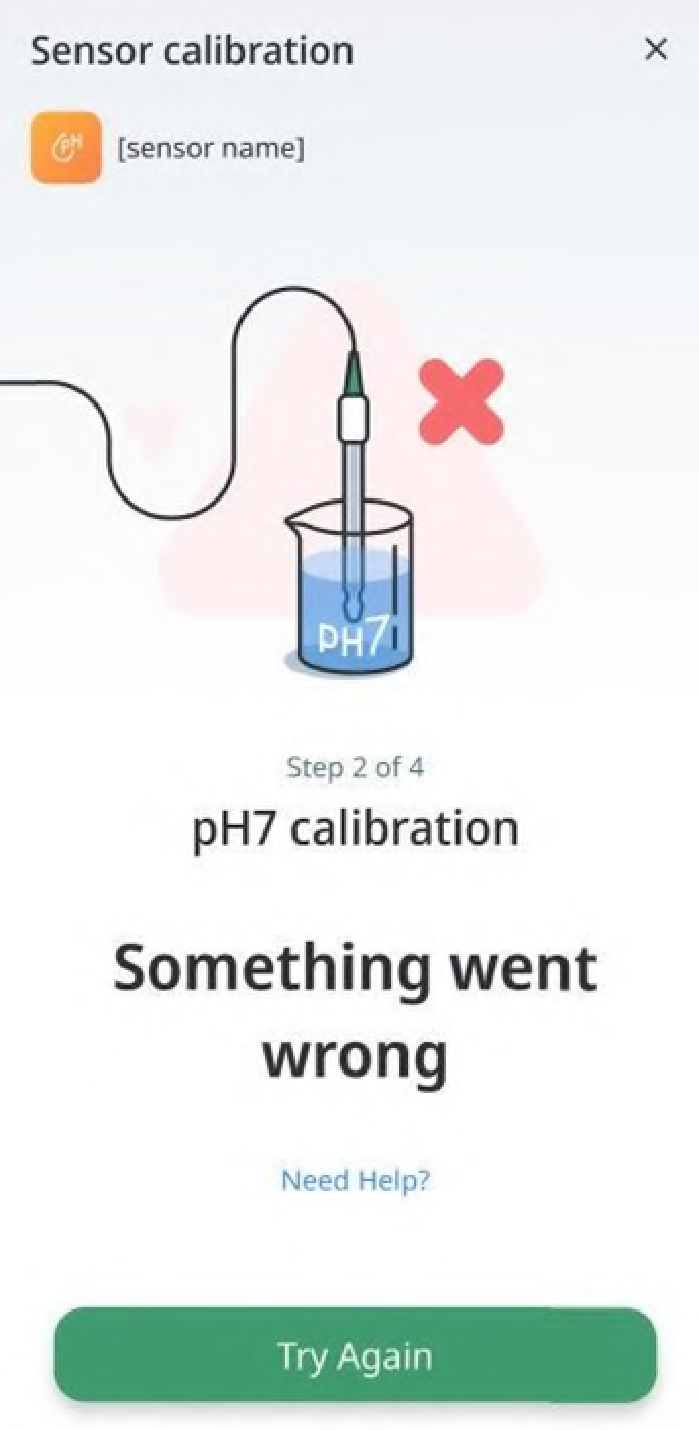
● If the calibration does not complete because of any reason, you will be prompted to retry. To do so, tap the Try Again button:
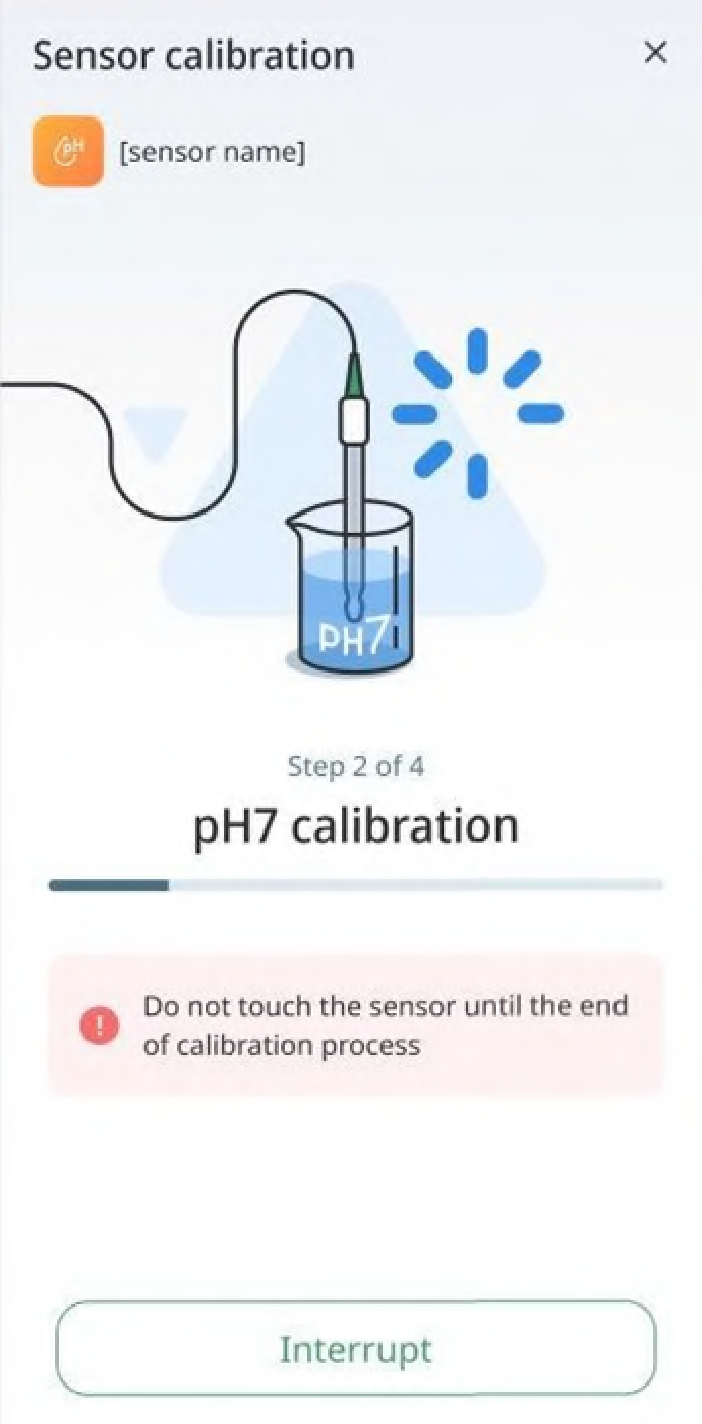
- The calibration loader with progress bar appears. When the progress bar moves to the end of the right side, calibration gets completed and the message Successfully calibrated appears:

- Tap the Next button to start calibrating pH 7. The following screen appears:
- Immerse your Sensor in distilled water and stir it several times. Pull it out and shake it to drain water drops. Use an absorbent paper towel to clean it up. Tap the Next button. The following screen appears:
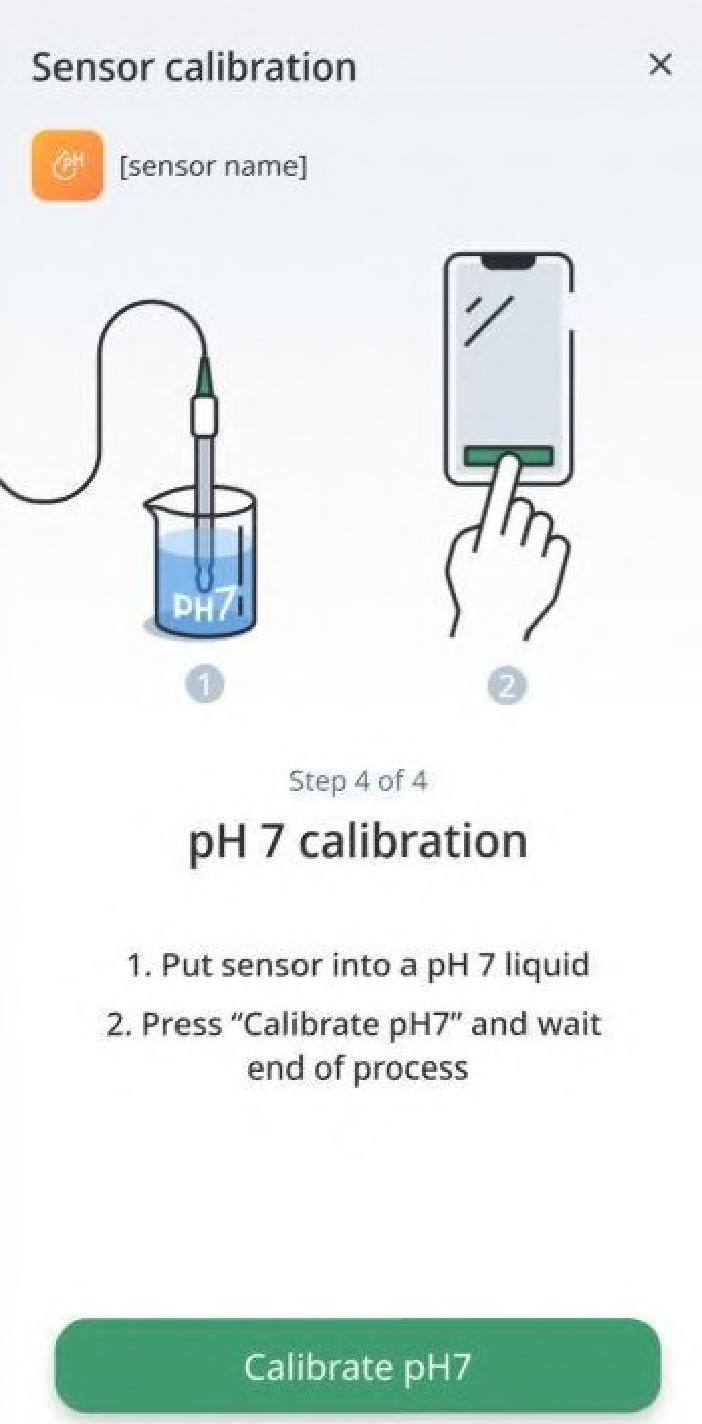
- Dip the cleaned sensor into the pH7 buffer and tap the Calibrate pH 7 button:
● There might be cases when you may want to interrupt the calibration process. To do so, tap on the Interrupt button:
● If the calibration does not complete because of any reason, you will be prompted to retry. To do so, tap the Try Again button:
- When the calibration is over, the following message appears: Sensor has been
successfully calibrated!:
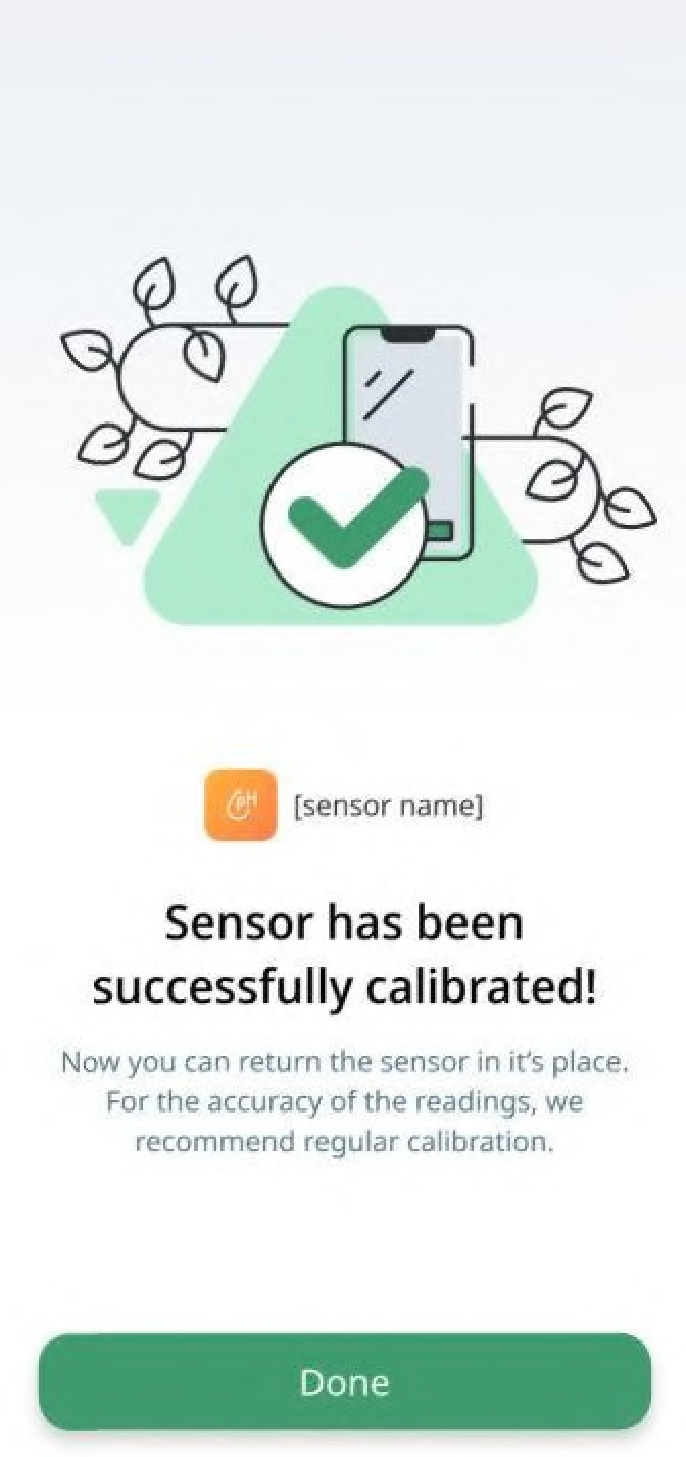
10.Now you can use your Sensor.
Note: For the accuracy of readings, we recommend Sensor calibration at least once every two weeks.